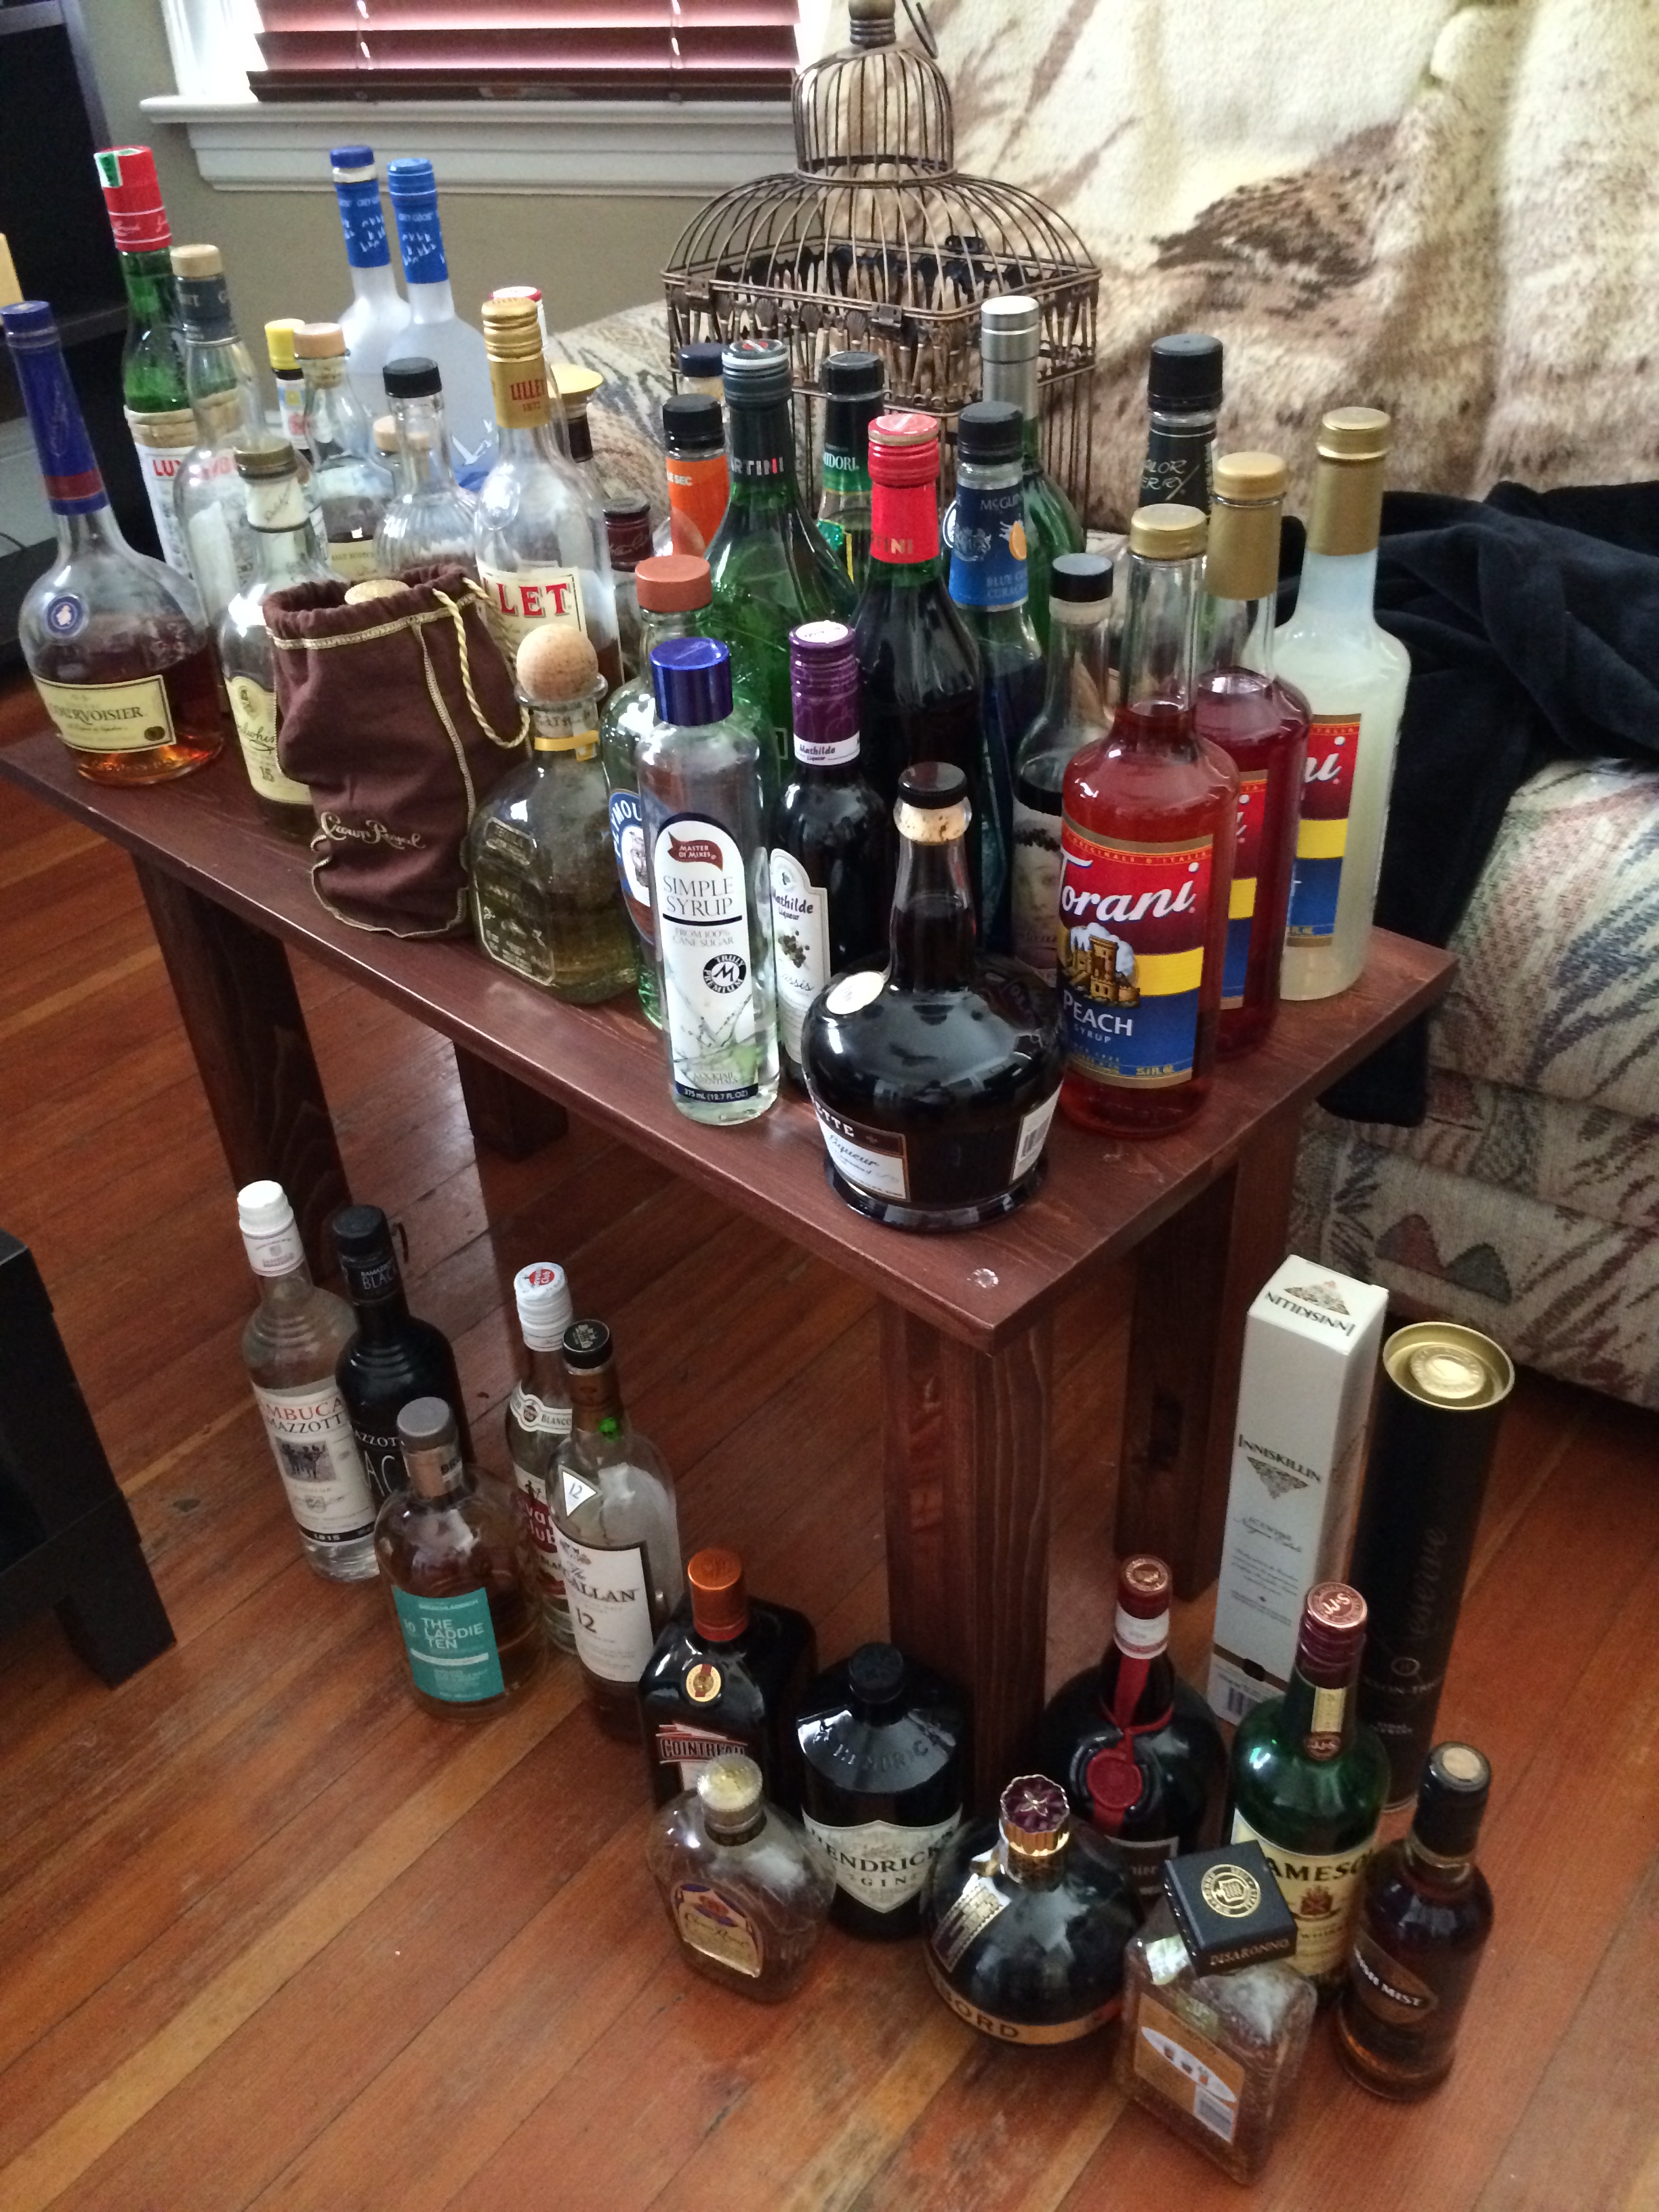
So, Nick and I have known for some time that we were rapidly running out of space on the bookshelves in our home office that we were using to store everything from books to camera equipment to computer cables and accessories, and of course our collection of fine adult beverages. I forgot to take a “before” picture but you can kind of get an idea of how crowded the shelves were from the background of this photo:

Basically the shelves were a mess and we needed to do something about it. We started looking up home bars, and were absolutely shocked to find out that not only are they pretty rare in the size we needed, but the size we needed was also usually upwards of $1,000! Here’s an example of one we looked at that is about $1,600, and it wasn’t even big enough to house everything.

So, we pretty much gave up on the bar idea until we won the lottery or something.
But then! One weekend we were staring mournfully at the bookshelves, and one of us suggested (can’t remember who – Nick swears it was him) tipping the bookshelves on their sides and just MAKING a bar. After a little Googling we found someone who had done just that on the website ikeahacks.com (worth checking out – people do some cool stuff with Ikea furniture!), and decided to try our hands at a little Ikea hackery of our own!
Like any home project, we expected it to take a couple of weekends. I totally should have known better from that time I tried to renovate a house in 2 weeks, but everything always takes three times as long as you think it should. It took us several weeks to finish the bar…probably 6-ish by the time all the finishing touches were put on.
On the plus side though, we already had the shelves, and so we only had to buy:
- Capita legs from Ikea $60 for 6
- Linmon table top from Ikea $45
- Plywood backing from Lowe’s about $25
- Primer & black paint for the backing, about $25
- Special bolts for the Capita legs $7
- TOTAL $172
We also opted for the following optional items to spruce it up a bit:
- Dioder lights from Ikea $80 for 8 lights
- Wine rack from Amazon, $35
- Textured wallpaper, $15
- Black spray paint $7
- Wooden trim $20
- TOTAL $157
Making our total expense on the bar just $329, which was insanely cheaper than we could have purchased one.
Here are some progress shots: